We now have our blank board, and the first step is to solder in the resistors. If you have a printer it is a good idea to print the guide on this page, it makes finding where to put everything much easier.
Identifying Resistors
We are going to start with a 470R resistor. Although if you have bought them then they will come in individually labelled packages, you can tell what rating a resistor is by the lines printed on them. If you look at a resistor it will have a number of different coloured lines printed on it, this is a code to finding out the resistance and the tolerance. An easy way to find out is to use an online guide to look this up, the Digikey site is a good reference and you can find it here.
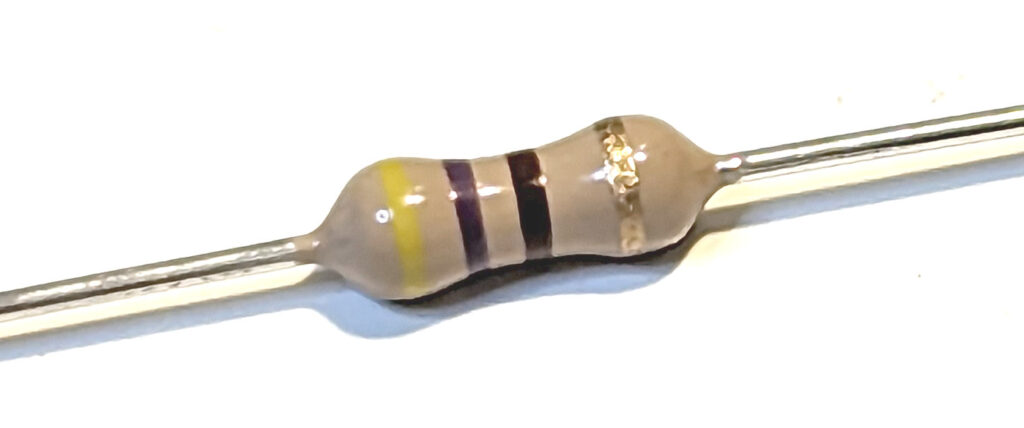
Putting in the 4 colours from our 470R resistor (Yellow, Violet, Brown, Gold) then the site confirms to us that it is 470 Ohms 5%. The 470 Ohms is the capacitance and 5% is the tolerance. 5% tolerance is fine for the ZX Spectrum.
Bending Legs
If you have access to a 3D printer it is quite useful to print a leg bender, making it easy to bend the resistor and capacitor legs to the correct size, you can find the one we are using here. But if you don’t have one, don’t worry, it’s easy enough to manually bend them with your fingers making a best guess of size, after a few you’ll bend them without thinking.
Soldering The Resistor
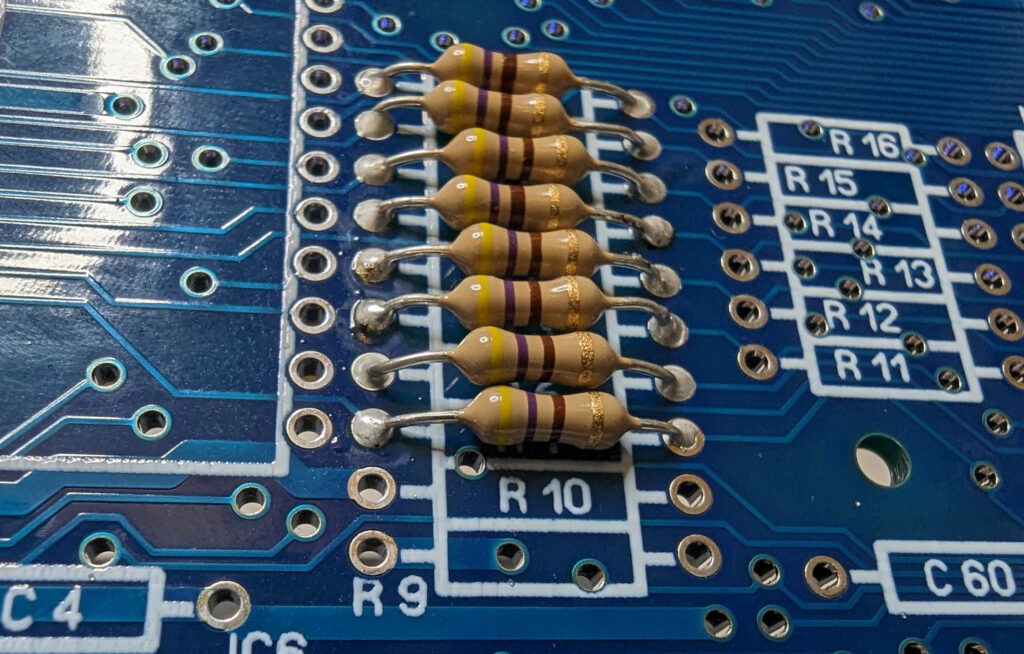
Preheat your solder iron to 350 degrees. Put the legs through the board, using the guide referenced above for each size, and flip over the board and solder. Put something good on the stereo and carry on with all the required resistors.
Complete the board
Carry on in the same way to complete all the different valued resistors. Once you have added them all your board should look like the below image.