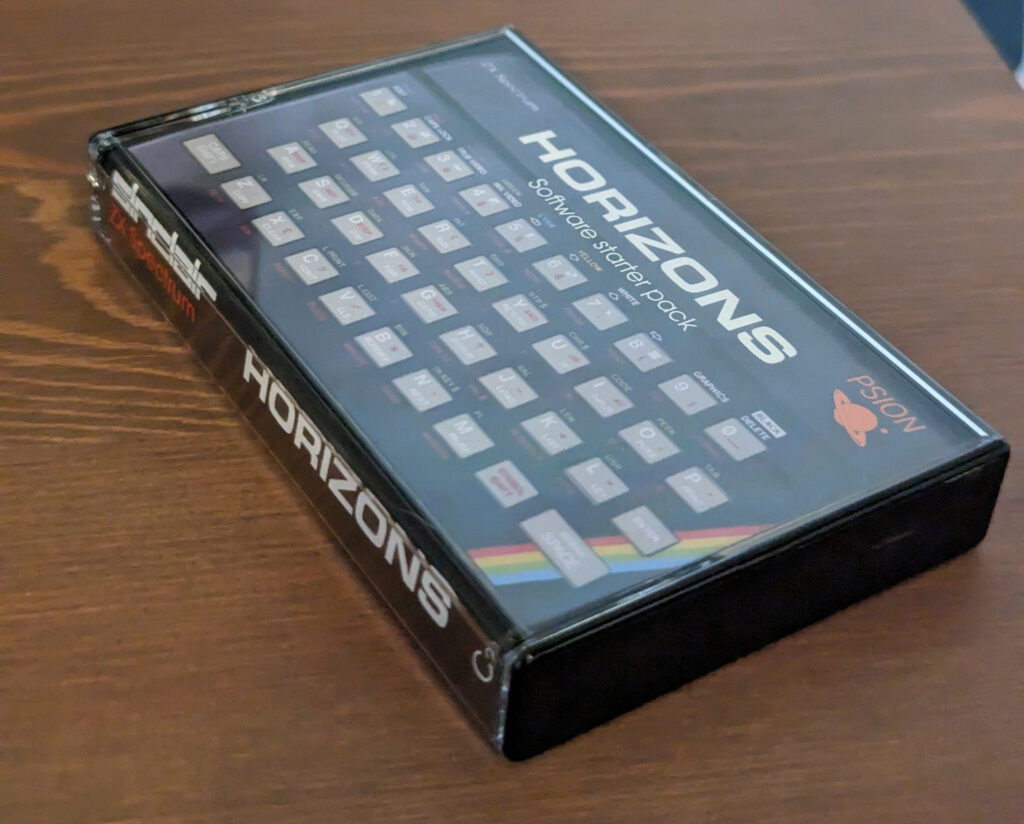
Totally unnecessary (like a lot of this build) but quite good fun, I thought now I have recreated the Spectrum and it looks like it would have under the Christmas tree back in 1984, what about everything that went inside it. I’m thinking the Horizons tape and the manuals. Manuals we’ll cover next, but onto the tape.
The Cassette Tape
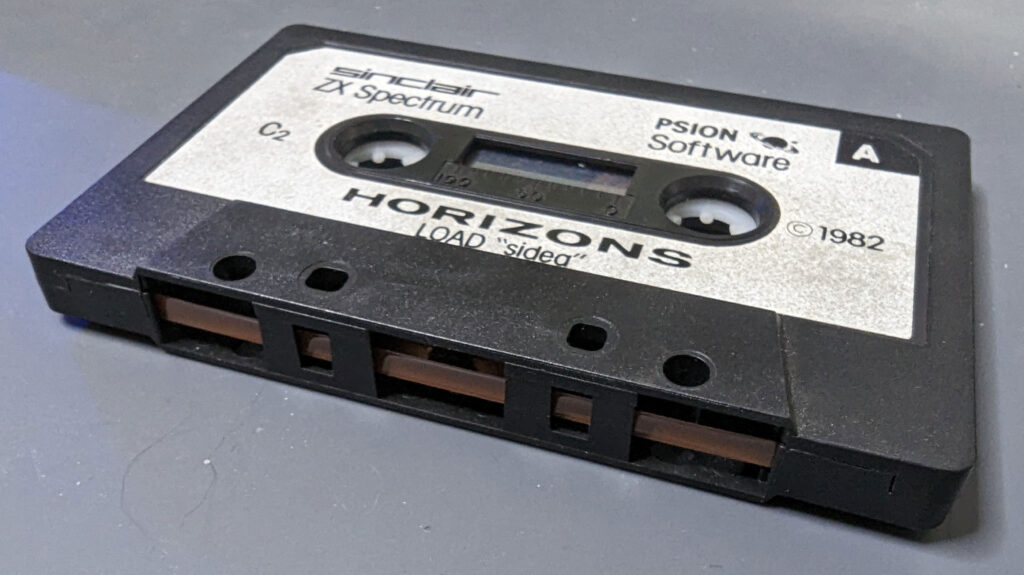
First the actual tape itself. There are a million Horizons tapes out there that people can’t give away, but they are usually in bad condition (as expected after 40 years) so I thought I would record new ones onto modern cassette tape.
I bought C30 tapes with Black and Clear cases from the following link, asking them to wind it to 10 minutes a side to optimise the length we need:
https://www.retrostylemedia.co.uk/product/michelex-black-blank-audio-cassette-tapes-tab-in
Converting to WAV
Now we have the tapes we need to get the audio to copy onto it.
To do this we can download a .tap file of the Horizons tape. We can find this on Spectrum Computing at https://spectrumcomputing.co.uk/pub/sinclair/compilations/h/Horizons.tap.zip
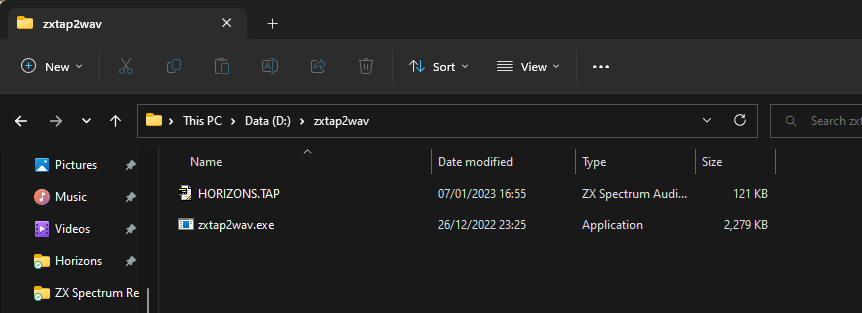
We now need to convert this into the noise you remember from loading a tape, the sounds of the eighties as I call it. To do this we can use a application called ZX Tap to WAV: https://github.com/raydac/zxtap-to-wav/releases
Download the latest release and then copy zxtap2wav.exe into a folder of your choosing along with the .tap file downloaded earlier.
Now open a command window and navigate to this folder and then use the command:
zxtap2wav -i HORIZONS.TAP
You will now have a WAV file called HORIZONS.wav that we can now record to tape. However we need to split this into two so we know what to record on each side.
To do this you can use any audio editing software, a good free option is Audacity https://www.audacityteam.org/
Install the software and split the file into two, you will need to make sure you find the place to break it, I haven’t got a good option for this yet, let me know if you do, apart from finding obvious places, breaking it and then exporting, on the tap file I used it was at 8:46. A handy hint is just to get the first 5 seconds or so to test, you just want to see the name of the program when it loads, you are looking for Program: sideb for the split

When exporting make sure you choose unsigned 8-bit PCM or it won’t work if trying to load into Spectaculator.

Open this file in Spectaculator and make sure you have the right break point.
If you don’t want to do this, you can download the WAV files here:
Recording onto tape
To get this onto cassette we are going to use the tape recorder we got for use with the Spectrum.
Plug one end into the mic socket of the tape recorder, and one end to the headphones socket on your PC. Now press record on the tape recorder, and start playing the WAV on your PC, making sure sound is set to go into Headphones. This sound now record the loading noise onto your tape.
Once done, rewind the tape and make sure it all sounds good. Now we can test it. Plug in a cable from the headphone on the tape recorder into the EAR socket on the Spectrum.
Type the classic LOAD "" (J and then Symbol Shift P twice”) and hit Enter
Press play on your tape recorder and fingers crossed the game will load. If it doesn’t load, then make sure the volume is set at the right level and you can hear the loading noise.
Creating the label
To print the label for the tape we will just use home printing instead of sending to a professional printer, as the cost to get a bespoke shape cut will be too much for our small run.
To print on we are using Avery 99.1 x 67.7 address labels.
We now need to create the artwork, again in InDesign I measured from an original tape, I had to change the cut lines to match the tape we bought, it isn’t exactly the same as the old Horizons tape, but it still works. You can download the artwork below.
Recreating the cover
Creating the artwork
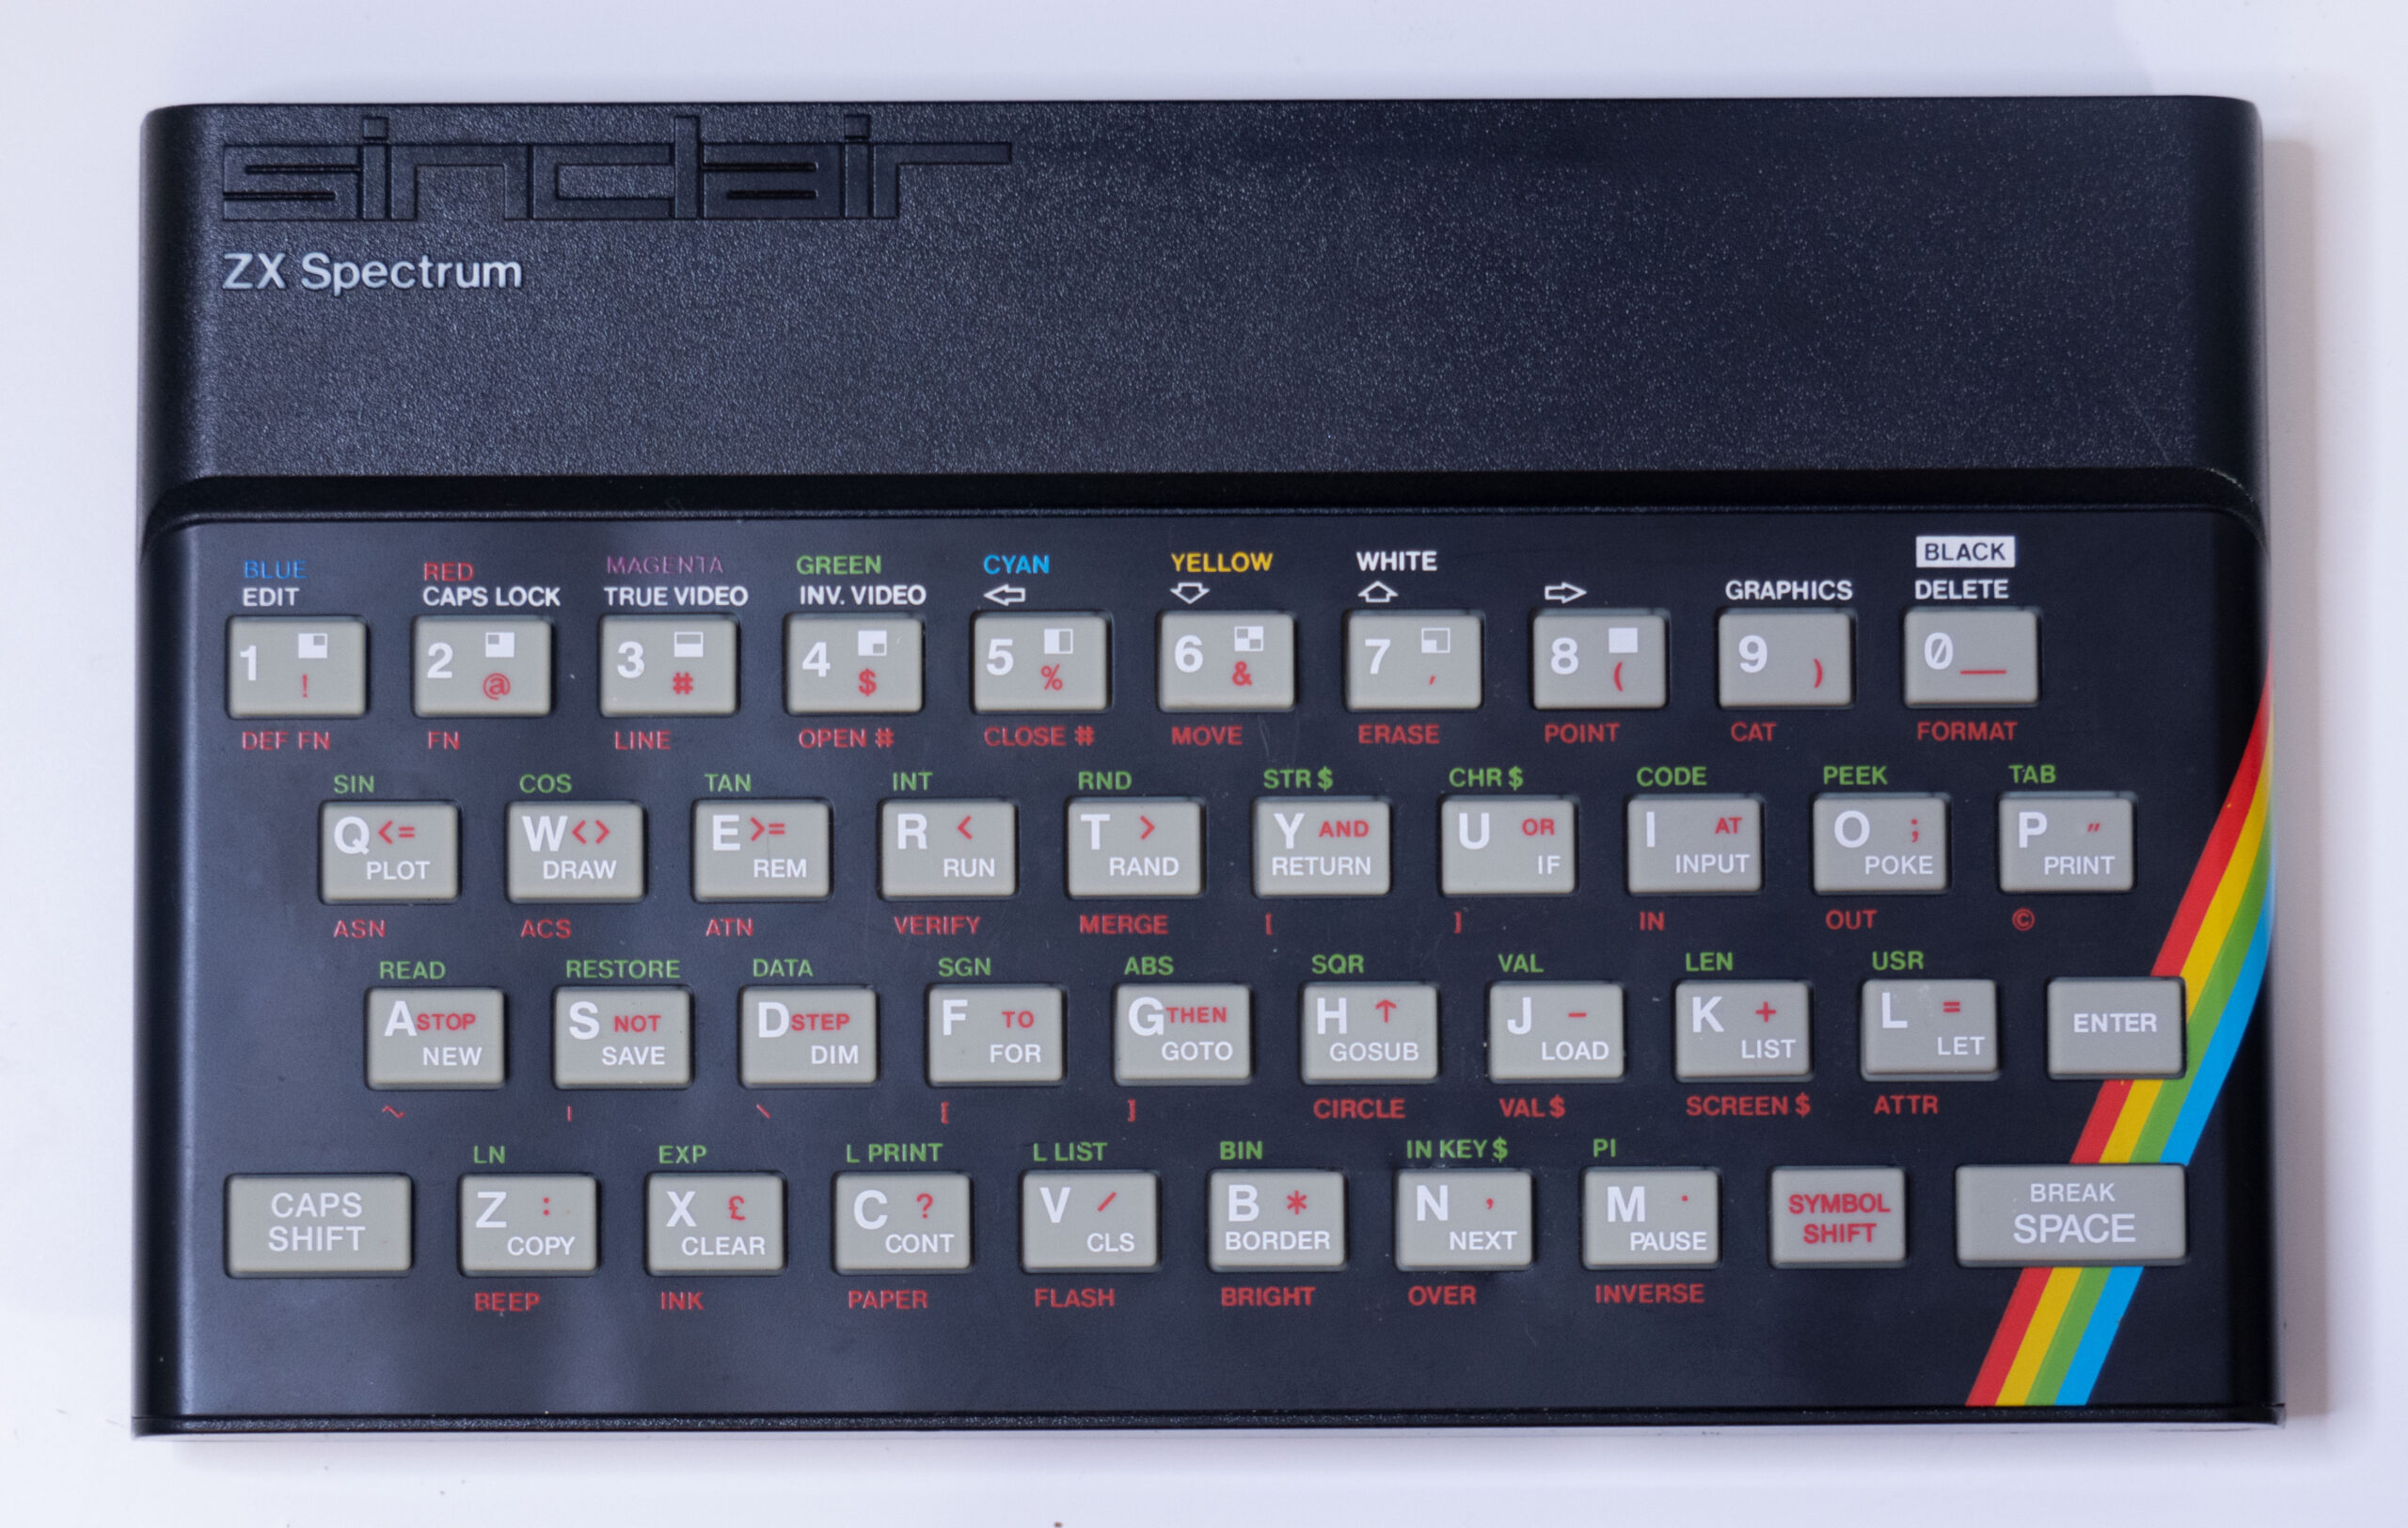
Taking an original tape cover I had in the collection, I measured all the dimensions and made a new document in InDesign. First thing to tackle was the front panel of a overhead Spectrum shot with the Horizons and Psion logos. Looking at various image libraries I couldn’t find an overhead shot of what is a Issue 1 Spectrum. Luckily I have a almost mint condition Issue 1 in the collection so I set up my overhead camera and took a photo. You can see this and download it here for your use.
I then had to redraw the Psion logo which I did in Illustrator, and font matched HORIZONS as close as I could. I found Arian – https://www.fonts.com/font/linotype/arian to be an almost exact match.
For the rest of the text I used Avant Garde Gothic – https://www.fonts.com/font/itc/itc-avant-garde-gothic and the Sinclair logo I got from Wikimedia – https://commons.wikimedia.org/wiki/File:Sinclair_ZX_Spectrum-02b.svg
Using a scan as a guide I recreated all the text and formatting of the original and then exported a print ready PDF, you can download this below if you want to print it yourself.
To print this I used https://www.digitalprinting.co.uk/ and used the following specs:
Leaflet Flyer Custom Flat
Size 101×165
Material: Silk 150
No Lamination
50 copies with delivery came to £23.42
Creating the folds
Once delivered I needed to fold it like the original, using an original for reference I used a ruler and the rounded corner of a credit card I scored each fold line, this made it very clean to actually fold the tape cover. I now had a good looking tape and cover, however there is one thing missing, the original was shrink wrapped in the box.
Shrink wrapping
To achieve this I bought some 15x15cm POF Heat Shrink Wrap Bags from here: https://www.ebay.co.uk/itm/185183781581?var=692939819957
Place the tape into one of these bags, make sure the open end has the long end that isn’t the readable spine nearest to it. We now need to seal this so with your soldering iron heat it to 290 degrees. Get a metal ruler and about 1cm from the edge, quickly run the iron along the bag, you want to seal it but not melt it away. Once you have a sealed bag we can use either a heat gun (preferred) at 250 degrees, or a hair dryer, to shrink the wrap and create a nice shrink wrapped tape.