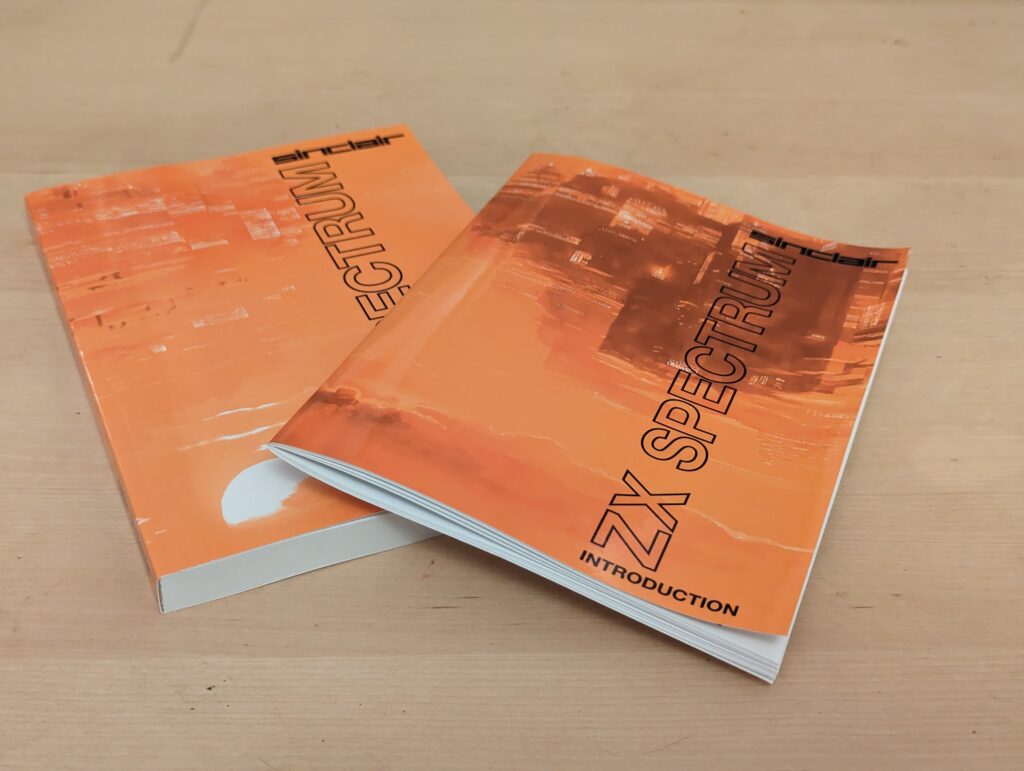
Who can forget the two orange bound manuals that came with the Spectrum, for most it was our first introduction to the magic that put text and graphics onto the household TV and again I wanted to recreate them to minty fresh goodness.
Cover
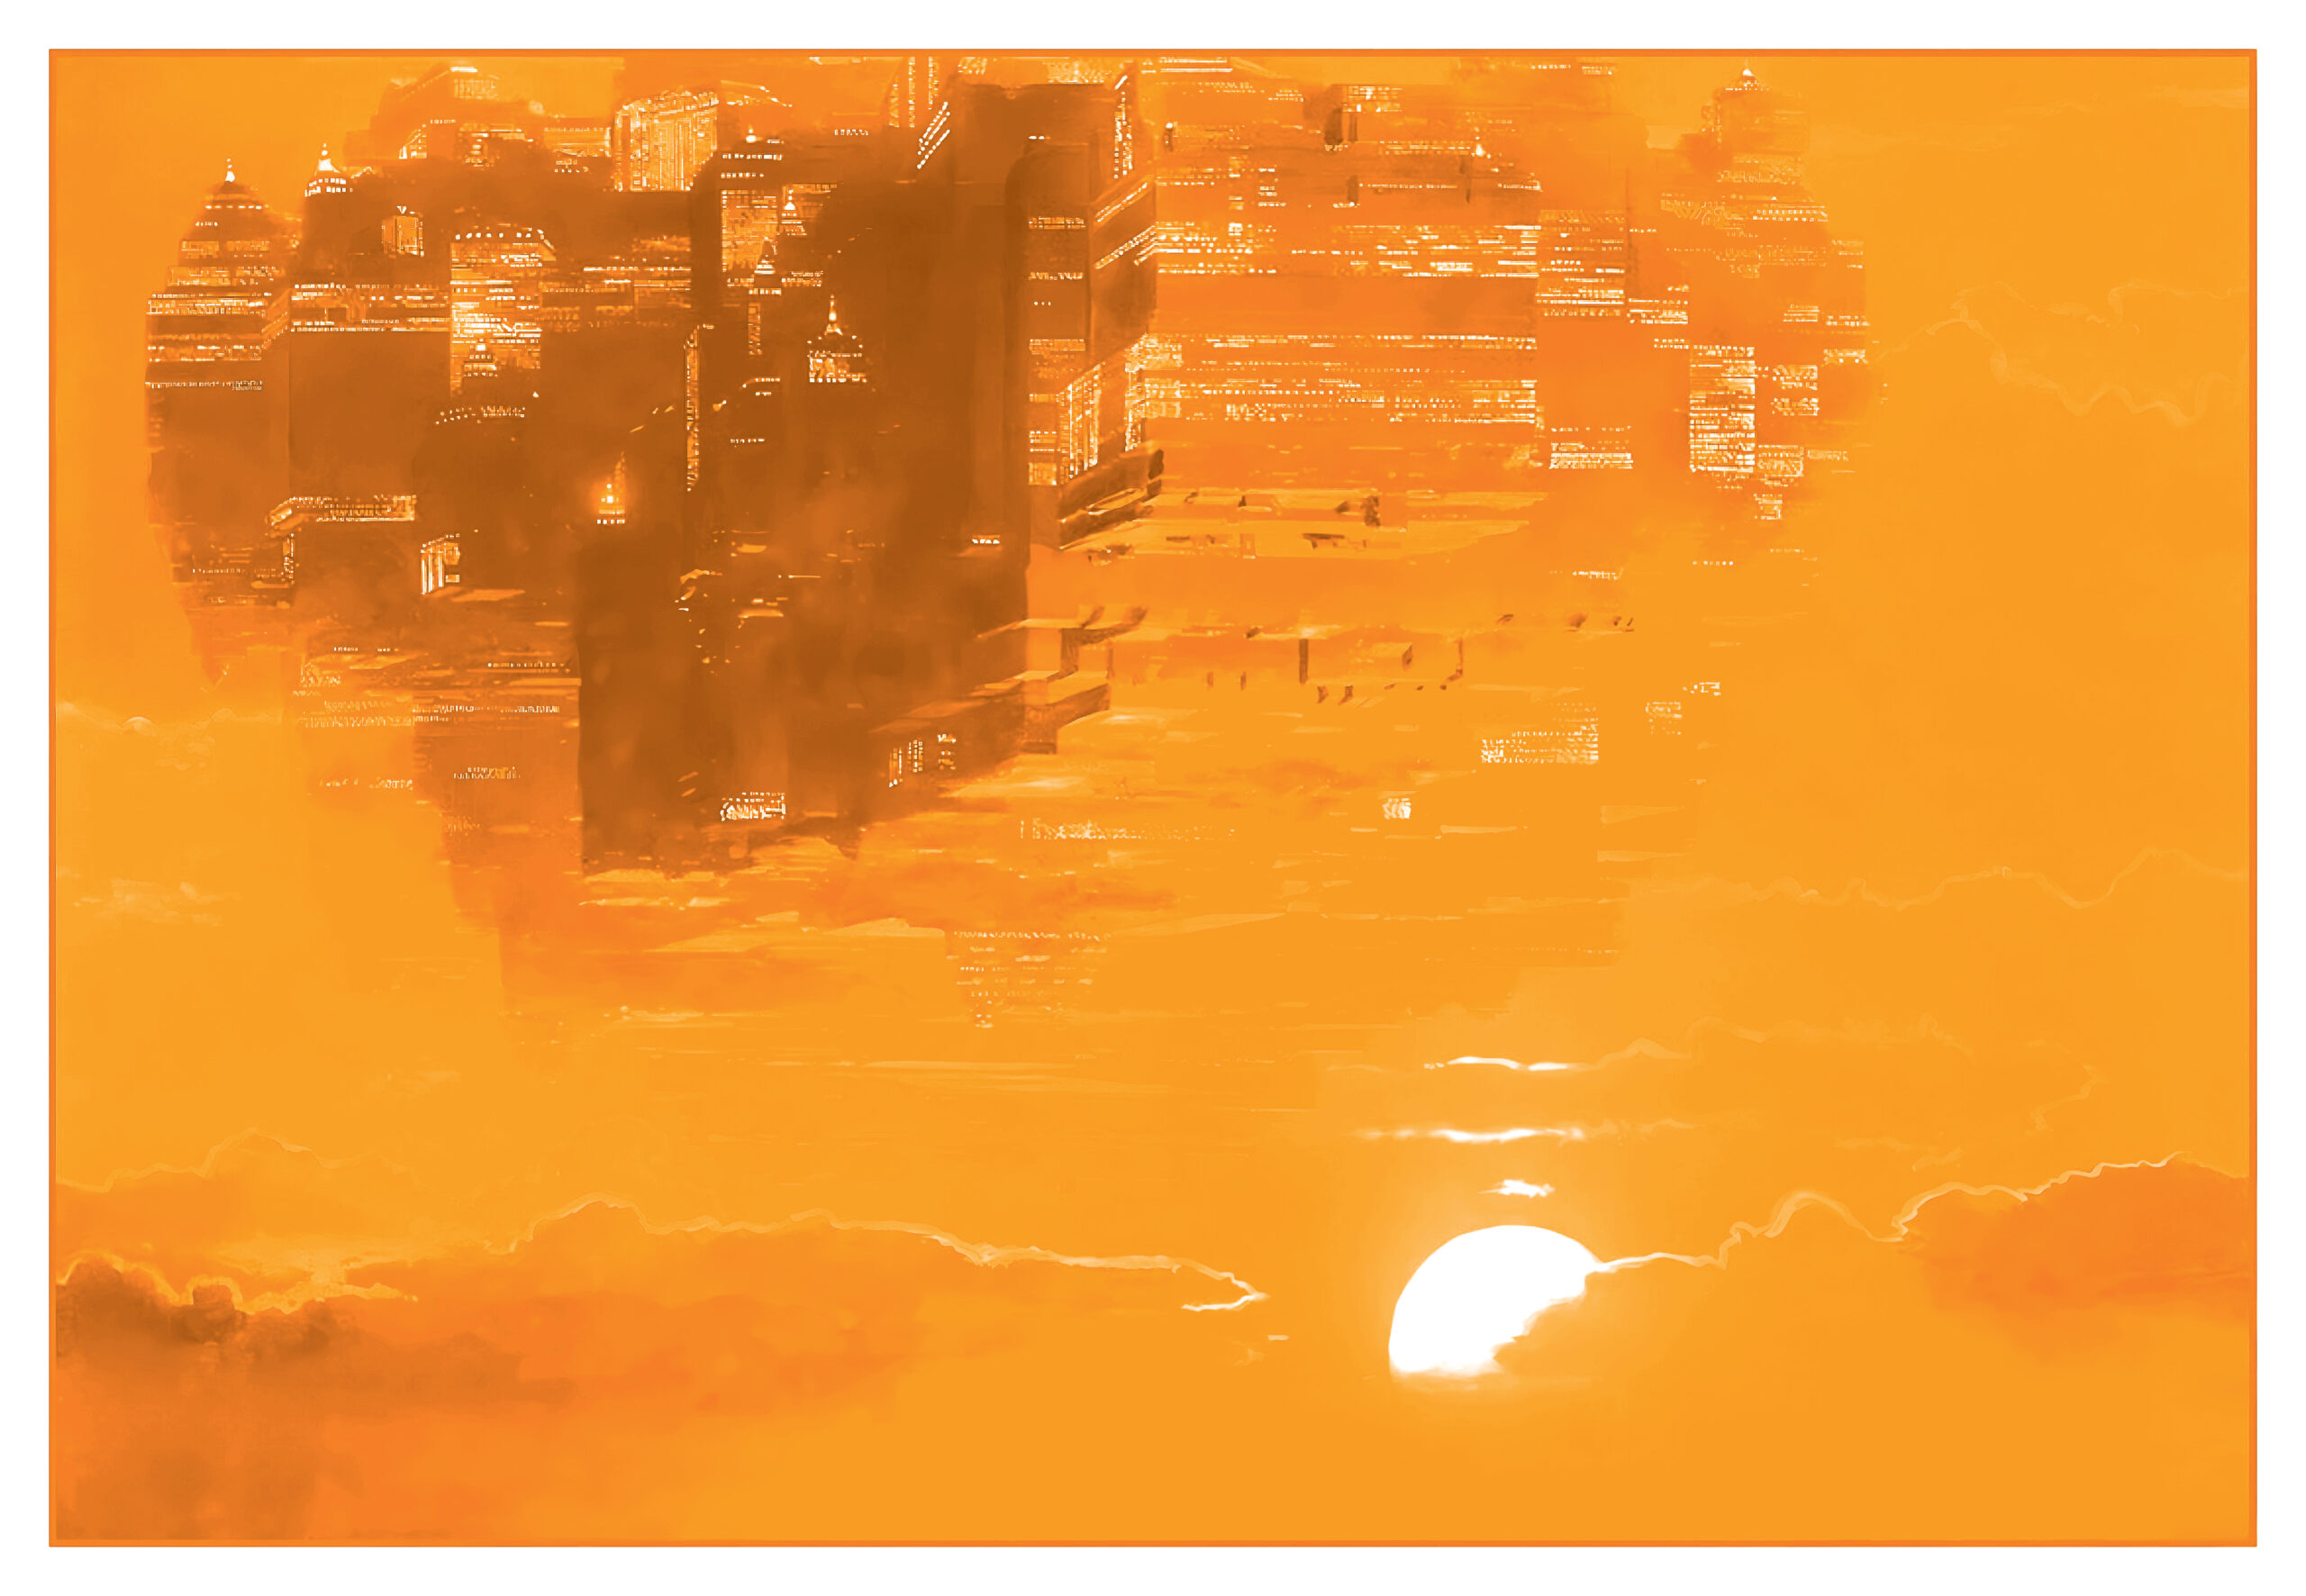
First thing was to work on the cover, the illustration used was called Floating City by John Harris, a licensed print can be purchased here: https://www.computinghistory.org.uk/det/66310/Officially-Licenced-John-Harris-Sinclair-Artwork-Poster-Prints/
Looking online for a good quality scan of this I can across the very talented Gary Arnott on Twitter (well worth a follow) who had redrawn the illustration, you can find this here https://twitter.com/GaryArnott/status/1523745372748664832

Downloading this a couple of things needed to happen, firstly we needed to flip the image horizontally. And then also adjust the colours to reduce the amount of black in the image, this is outside this guide as it requires a decent knowledge of Photoshop (all those years working with it actually helps), but if you want my final image file it can be downloaded below.
Artwork
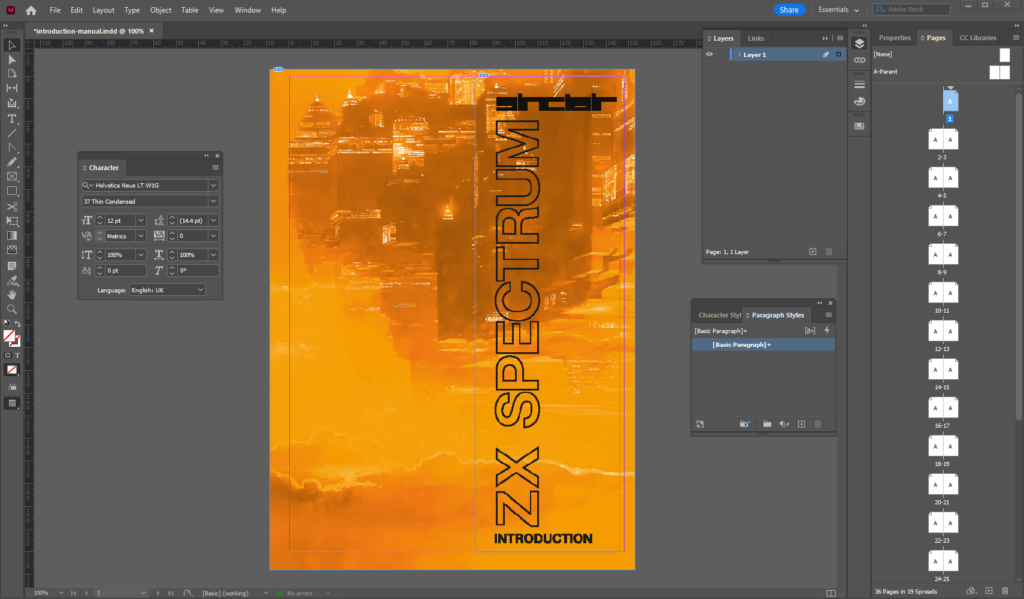
I could then start creating the two manuals in InDesign. Starting with the Introduction.
Measuring the original booklet it is A5 sized, so I created a new document in InDesign with these measurements and imported the image as the cover. Cropping it to the correct dimensions I then placed the Sinclair logo that we used on the tape cover in the previous post and in Illustrator drew the outline text for ZX SPECTRUM using Helvetica Neue and again placed it on the page.
For the inside I actually hit gold dust, it turned out a guy called Colin Woodcock had previously recreated the internal text as a PDF, using this I could use a Plug-in called MultiPageImporter – https://github.com/mike-edel/ID-MultiPageImporter to import all the pages from the PDF into our new document. The only issue is the PDF we are importing is A4 while our manual is A5. As there are not many pages we can easily manually resize each page.
Once we have done this, we can just tidy up the positioning on the pages, make sure we have bleed and create a print ready PDF of this:
Onto the BASIC manual, to start we are following the same procedure with the cover, however there this time is no nice reformatted PDF to work with, however I did find a scan of the manual online that looked decent enough quality. Again I used MultiPageImporter to import the found PDF into our InDesign document making sure to align each page with the centre of the page.
Once imported there was quite a bit of realignment to do on each page, and also hiding hole marks in the original scans, either by cropping the imported PDF or placing white blocks over it.
Update – Thanks to the comments on my video I found that the manual, and all of the ones on the internet was missing about 25 pages. I bought a excellent quality manual off SinclairForSale on Facebook and scanned each page before cleaning it up in Photoshop. I then recreated the manual in InDesign as before. The updated manual is below.
Once done, again we could export a print ready PDF:
Now we have this we need to find a printer to print our manuals. I decided on https://mixam.co.uk/ who I had used in the past for large booklet prints.
The print specs I used were:
Introduction:
32 sides ((4 additional sides)), size: A5 portrait. On paper. Digitally printed. In black & white Throughout. Binding: saddle stitched. Cover: 170 , Gloss paper, In colour on the outside colour inside. Coating (outside): Gloss lamination.
BASIC:
212 sides ((4 additional sides)), size: A5 portrait. On paper. Digitally printed. In black & white Throughout. Binding: perfect bound PUR Binding. Cover: 250 , Gloss paper, In colour on the outside colour inside. Coating (outside): Gloss lamination.
I also then needed a spine for the Basic booklet, I had hoped to print this wire bound but the max page size for this was 200 sides, and there were some prefect bound instances of the Basic booklet so that’s OK.
I created this in InDesign you can use it here:
Once received back from the printers they came out even better than I could imagine, and really add to the whole new Spectrum build.