
Time to move onto the chips. For these we are going to first install DIL sockets, so that we can easily remove chips later on if we need to.
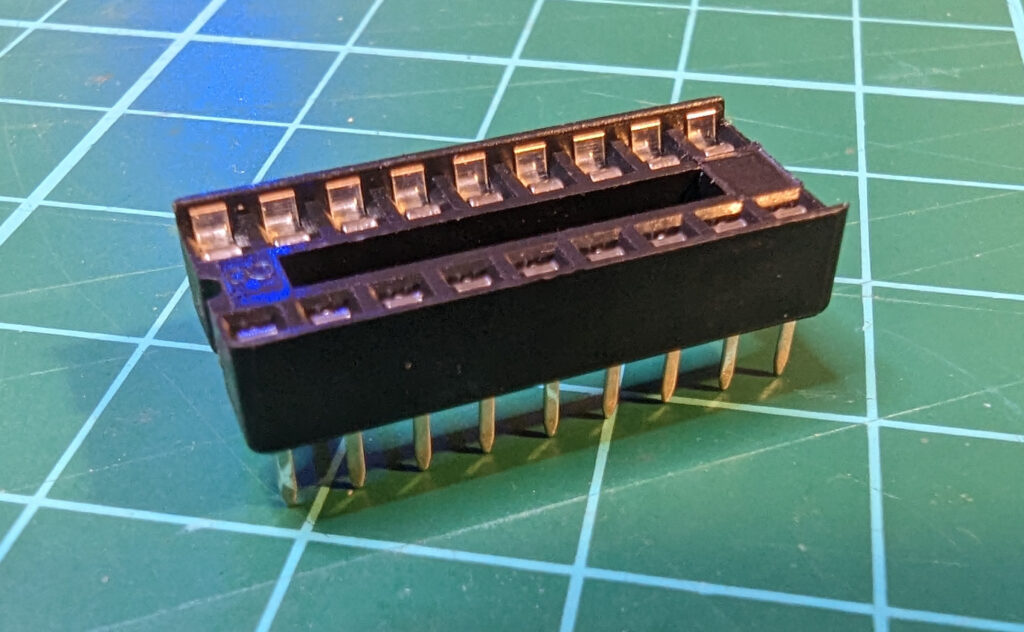
These are very simple to install, just poke the legs through the holes, try to make the circular indent on one end of the sockets to match the top of the component diagram on the PCB.
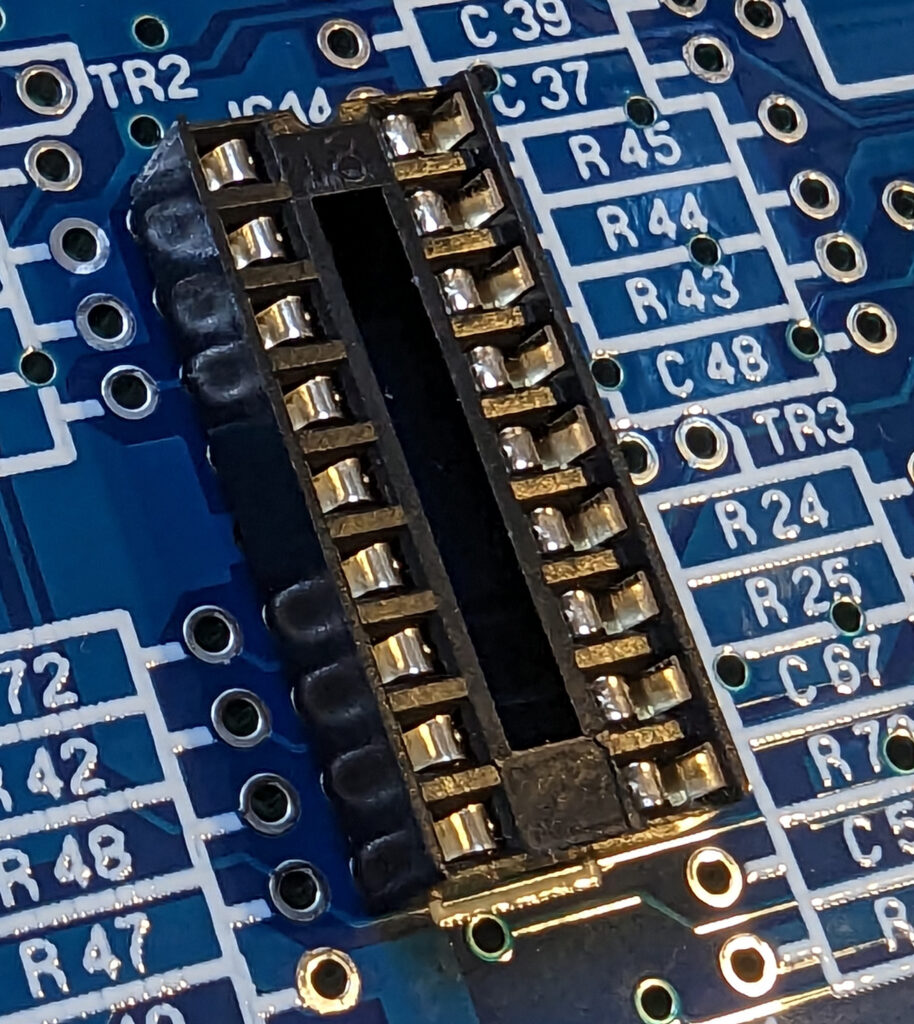
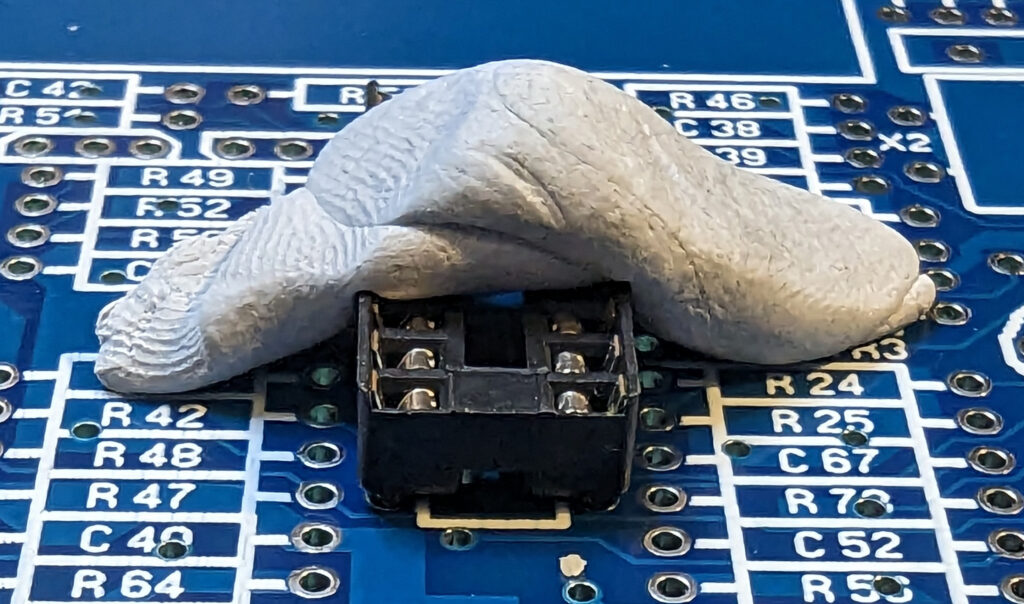
I find that holding the socket down with some Blu-tack is very useful to soldering, also a good idea is to first solder the two diagonally opposite pins first and then flip the board back up and make sure the socket is flush to the board, if it isn’t, you can heat the respective side pina and push it down. If you wait until you have finished soldering all the pins, it is not fun as you will have to desolder the socket completely.
Install sockets in all places chips need to be installed from the build diagram. These will be labelled ICxx on the plan.
Once the sockets are in place you can simply slot in the relevant chips in each position